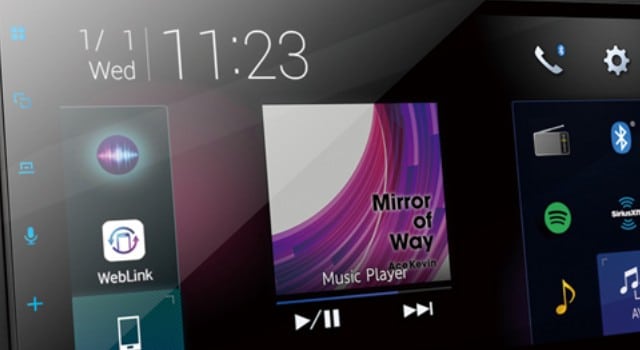
Curious to know how to change the clock on a Pioneer radio? Then this post is for you.
Pioneer Electronics is a widely popular brand for manufacturing car stereo units. They have various types of car stereo and radio units. All of their car radios come with a built-in clock. And, you might need to change the clock to set the correct time.

You might have already guessed that depending on the model of the Pioneer stereo, the process of changing the clock will be different as well. Regardless of that, we will be sharing the method of changing the clock on a Pioneer radio in this post.
So, without wasting more time, let’s jump right in…
Tutorial on How to Change the Clock on a Pioneer Radio
As you know, there are various models of Pioneer radios available out there. And, the method of changing the clock on them will be different as well from each other. As a result, we will share a few methods in this post one by one. If you are ready, we can begin…
Method #1 For Older Pioneer CD Players
Do you have a newer version of the Pioneer CD players? Then this is not for you. However, you can skip this because this section is dedicated to older Pioneer single CD players users. So, if you are one of them, then you can follow the steps mentioned below.
Steps to Follow
- First of all, you need to press and hold the ‘SOURCE’ button to shut down the unit.
- Next, you need to press and hold the ‘Source’ button once again until you see the clock on the screen.
- Then, you will have to use the left or right arrow to select between the minute, second, or hour segment to adjust.
- And, for changing the time, you need to use the UP and DOWN arrows. So, you know to increase, you should use the UP arrow, and to decrease the time, you need to use the DOWN arrow.
- Once you are happy with the time, you can press the SOURCE button to set it and exit.
For some models, you might not be able to follow this method above. For that reason, we are going to share an alternative method for you.
Steps to Follow
- As usual, you need to shut down the unit by pressing and holding the SOURCE button first.
- Then, you need to press and hold the ‘FUNCTION’ or the ‘AUDIO’ buttons (depends on the model of the unit)
- In doing so, the clock will appear on the screen.
- Now, you can choose the particular segment (second, minute, and hour) of time using the LEFT and RIGHT arrows.
- And, to change the time, you need to use the UP and DOWN arrows. You need to use the UP arrow to increase the time and the DOWN arrow to decrease the time for the record.
- After you have set the clock, you need to press the SOURCE button to exit
Method #2 For Car Stereo Pioneer DEH-1700
As the subtitle suggests, this section is for the users of the Car Stereo Pioneer DEH-1700 model. So, let’s learn how to do it…
Steps to Follow
- At first, you need to turn off the unit by pressing and holding the SRC option.
- Next, you need to press and hold the SOUND button until it starts flashing
- At this point, you need to use the VOLUME buttons to change the time
- For switching between the hours and minutes segments, you need to click on the SELECT option
- Once you have set the time, you need to tap on the CLOCK button on the upper left corner of the screen
- That is it; you have successfully changed the clock on the Car Stereo Pioneer DEH-1700 radio
Method #3 For Other Older Version Pioneer Radios
If you have noticed that none of the above-mentioned methods match your radio, you might be using an older model. In that case, you can follow this method…
Steps to Follow
- First of all, you need to make sure that the car key switch is on
- Also, the sound system should be turned OFF
- Next, you need to press on the CLOCK option
- After that, you need to select the preset FM ‘NUMBER 1’ button for setting up the time.
- After setting the time, you need to press the FM preset ‘NUMBER 2’ while holding down the CLOCK button.
- Now, once the time is set, you can let go of everything.
Method #4 For Pioneer DEH-P5900IB
If you use the Pioneer DEH-P5900IB model, you need to follow a slightly different method to change the clock on your Pioneer radio. Here’s what you can do…
Steps to Follow
- In this case, you will need to use the MULTI-CONTROL option to select a clock.
- After that, you need to press the RIGHT or LEFT on the MULTI-CONTROL to separate the Hours and Minutes segments.
- And, to change the time, you need to use the UP and DOWN buttons of the MULTI-CONTROL option.
- Next, if you select a clock group, you will see the selection flashing.
- You can set the time by pressing the MULTI-CONTROL button.
That is it. If you have followed the steps on your Pioneer DEH-P5900IB unit, the clock should be changed.
Concluding Thoughts
You can see that depending on your Pioneer radio model. You need to follow different methods to change the clock. As a result, we have also shared multiple different methods in this post. In addition, we have tried to keep it simple and easy to follow.
We hope now you learned how to change the clock on Pioneer Radio. Still, if you have any more tips and tricks on how to change the clock on a Pioneer radio, you can share that in the comments below. And, if you have found this post helpful, don’t hesitate to share it with others.
More Posts for You:


